A graphic T-shirt can have great artwork and still look disappointing when someone puts it on. The design might sit too high across the chest, disappear into a fold of fabric or look strangely small on a larger shirt.
One common mistake is using the exact same print dimensions and placement across every clothing size. Another is choosing a larger T-shirt without checking its shape, length or width around the hips.
Designing graphic T-shirts in plus sizes starts with the garment itself. The fabric, cut and proportions determine how the artwork looks when worn. Getting those details right makes the difference between a shirt that looks thoughtfully designed and one that simply has a larger size label.
Start With the Right T-Shirt Fit
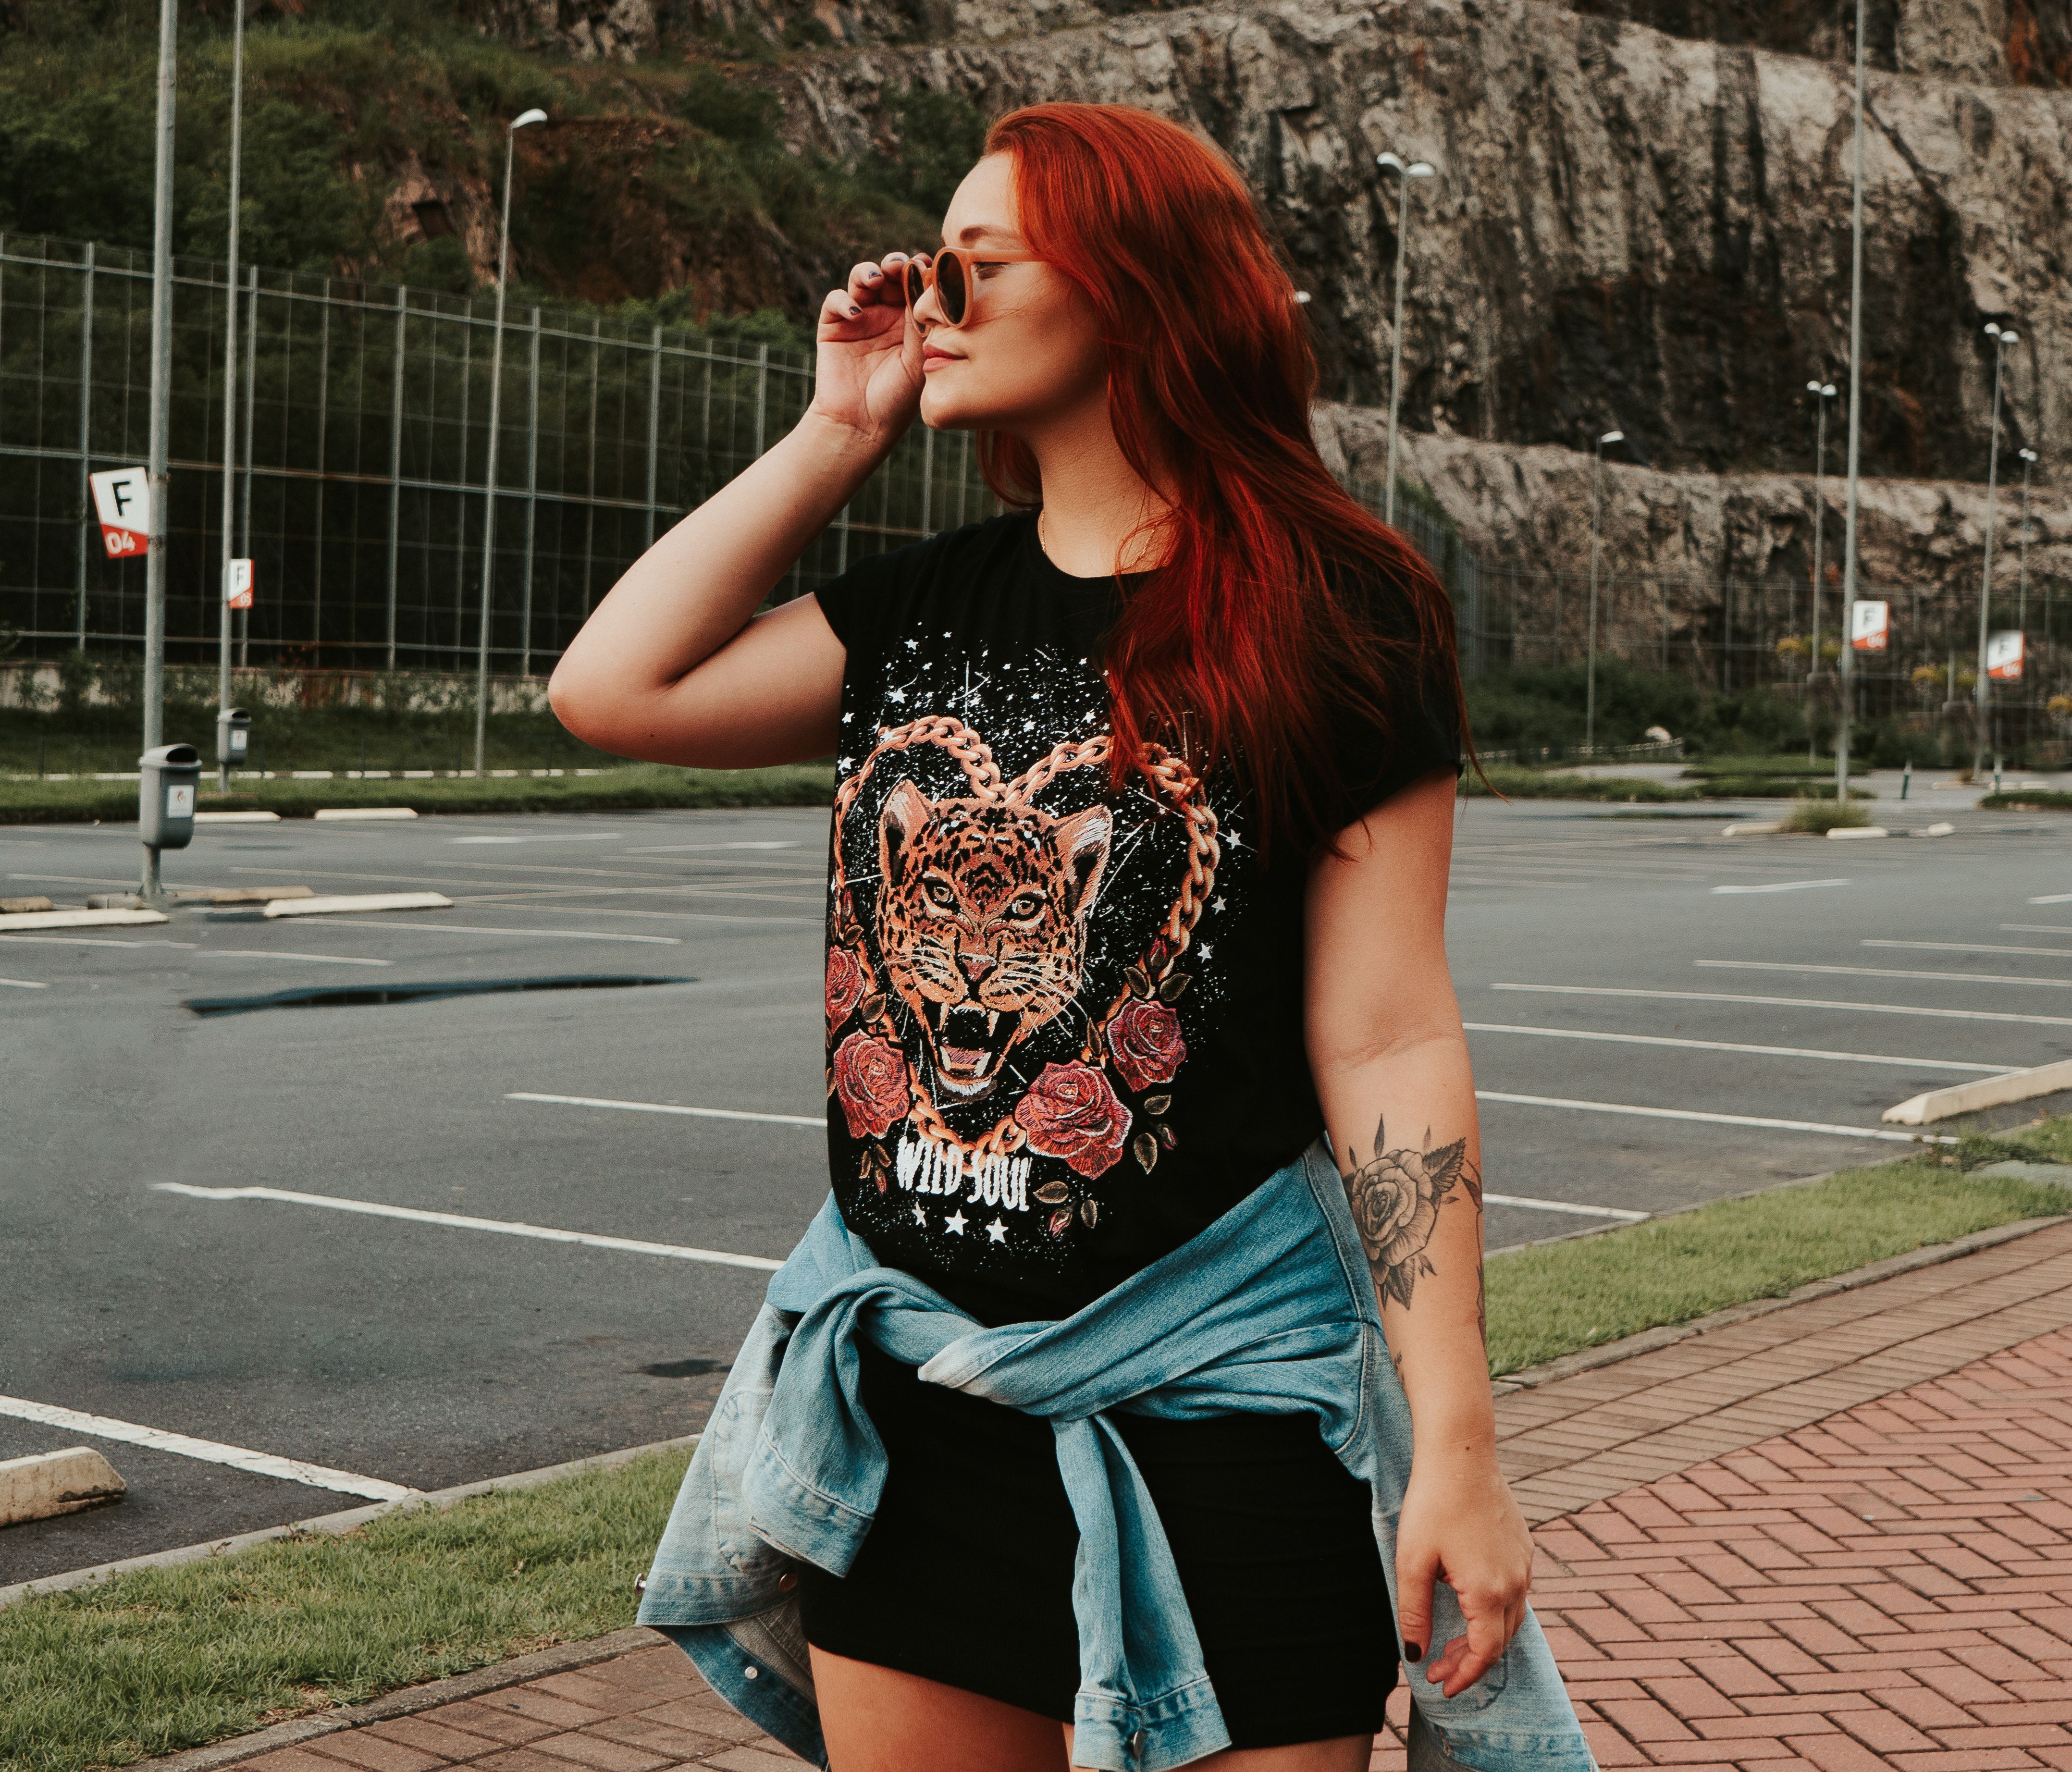
Before designing the print, choose the type of T-shirt you want to create. A relaxed shirt, a fitted style and an oversized T-shirt can all look different on the same person, even when their size labels match.
For plus-size clothing, pay particular attention to the chest, shoulders, sleeves, hips and overall length.
A shirt may fit comfortably across the bust but become tight around the stomach or hips. Another might have enough width but hang too low because the garment was designed with a longer body.
Common options include the following.
- Relaxed fit. Provides room through the body without creating an intentionally exaggerated silhouette.
- Fitted cut. Follows the body more closely, making fabric stretch and print flexibility particularly important.
- Oversized fit. Uses extra width and length for a deliberately loose appearance.
- Curved or shaped hem. Changes how the shirt falls around the hips and affects the space available below the graphic.
Do not assume that purchasing a larger standard T-shirt produces a well-proportioned plus-size fit. The shoulder position, sleeve shape and garment length may also change.
For a shirt intended to be tucked into jeans, a longer body may be useful. For someone who prefers an untucked T-shirt, the hem position deserves just as much attention as the chest measurement.
Measure the Shirt Instead of Trusting the Size Label
A 2XL shirt from one clothing manufacturer can have different dimensions than a 2XL produced by another. Even two styles made by the same company may have different fits.
Before ordering blank shirts or preparing artwork, check the actual garment measurements.
For an example of how clothing measurements are presented, the garment specifications and measurement chart for one unisex T-shirt style list a 26-inch chest width in 2XL and a 28-inch width in 3XL.
Those measurements refer to the shirt laid flat. They do not describe every plus-size garment or the body measurements of the person wearing it.
Measure an existing T-shirt that fits the intended wearer comfortably. Compare its chest, hem and length with the blank garment before purchasing a large quantity.
Make the Graphic Large Enough for the Garment
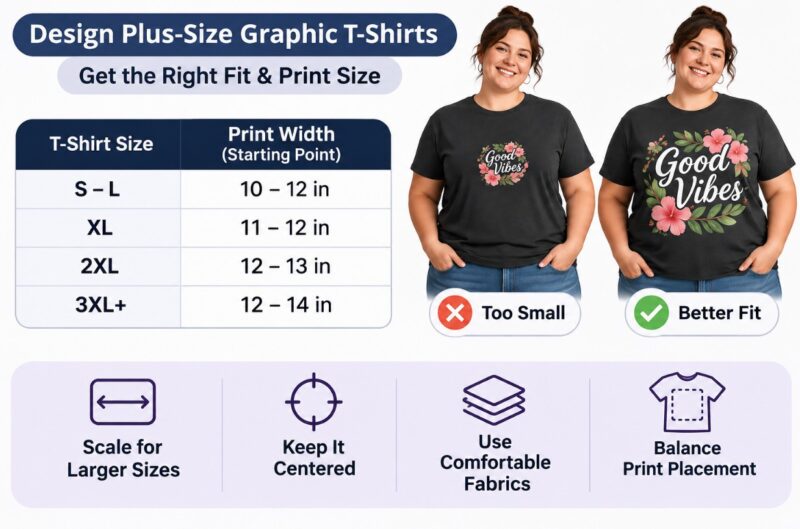
A design measuring 10 inches across can look substantial on a small shirt. Place the same artwork on a much wider garment, and it may appear noticeably smaller.
Scaling matters, especially for large illustrations and typography intended to dominate the front of the T-shirt.
Print dimensions are not universal, but the following measurements provide useful starting points for adult full-front designs.
The ranges are general design starting points, consistent with garment print sizing guidance. The actual printable area and desired appearance should determine the final dimensions.
Not every graphic needs to be enormous. A small illustration on the upper chest can look excellent on a larger shirt when its placement is intentional.
For a large statement design, however, increasing the print width may help the artwork look balanced with the garment.
Position the Artwork Where It Looks Right When Worn
Print placement can be surprisingly difficult on plus-size T-shirts because the garment changes shape when worn.
A perfectly centered graphic on a flat table may sit differently across the bust or stomach. Fabric movement can also affect designs positioned too close to the sides.
For a conventional full-front graphic, a useful starting point is placing the top of the design around 3 to 4 inches below the collar seam. Adjust the position after checking the shirt on a person or a dress form that matches the intended measurements.
Keep several points in mind.
- Center the design using the garment construction and intended front position.
- Leave enough space above the artwork so it does not crowd the neckline.
- Keep large designs clear of side seams and areas where the fabric folds significantly.
- Check how the image looks when the wearer is sitting and standing.
- For fitted shirts, avoid placing important lettering where substantial stretching may distort it.
A useful trick is printing the artwork on ordinary paper at its intended size. Position it against the shirt before committing to a permanent transfer.
Photograph the shirt with the paper design in place. A quick photograph can reveal proportions that are difficult to judge when looking directly down at the garment.
Choose Graphics That Work With Fabric Stretch
Plus-size T-shirts can be made using cotton, polyester, fabric blends and materials containing elastane. Each behaves differently during wear.
Stretch is particularly important for fitted styles. A large, rigid print across the chest may feel uncomfortable or develop damage after repeated movement and washing.
Several design choices can help.
Use Smaller Sections Instead of One Solid Rectangle
A large block of printed material can cover a significant part of the fabric surface. Depending on the printing method, the result may feel stiff.
Artwork with open spaces, separate letters or smaller illustrated elements can allow more of the original fabric to remain exposed.
Keep Typography Readable
Thin lettering may disappear against textured fabric, especially when printed at a small size. Extremely wide words can also approach the side seams of a shirt.
Choose lettering with enough weight and spacing to remain readable. For longer phrases, arranging the words across two or three lines may work better than shrinking everything into a single line.
Test the Print on the Actual Material
A design that works on heavyweight cotton may behave differently on a lightweight stretch blend.
Make a sample, stretch it gently during normal wear and wash it according to the garment care instructions. Look for cracking, peeling, discomfort and changes to the fabric.
Choose a Printing Method That Suits Plus-Size T-Shirts
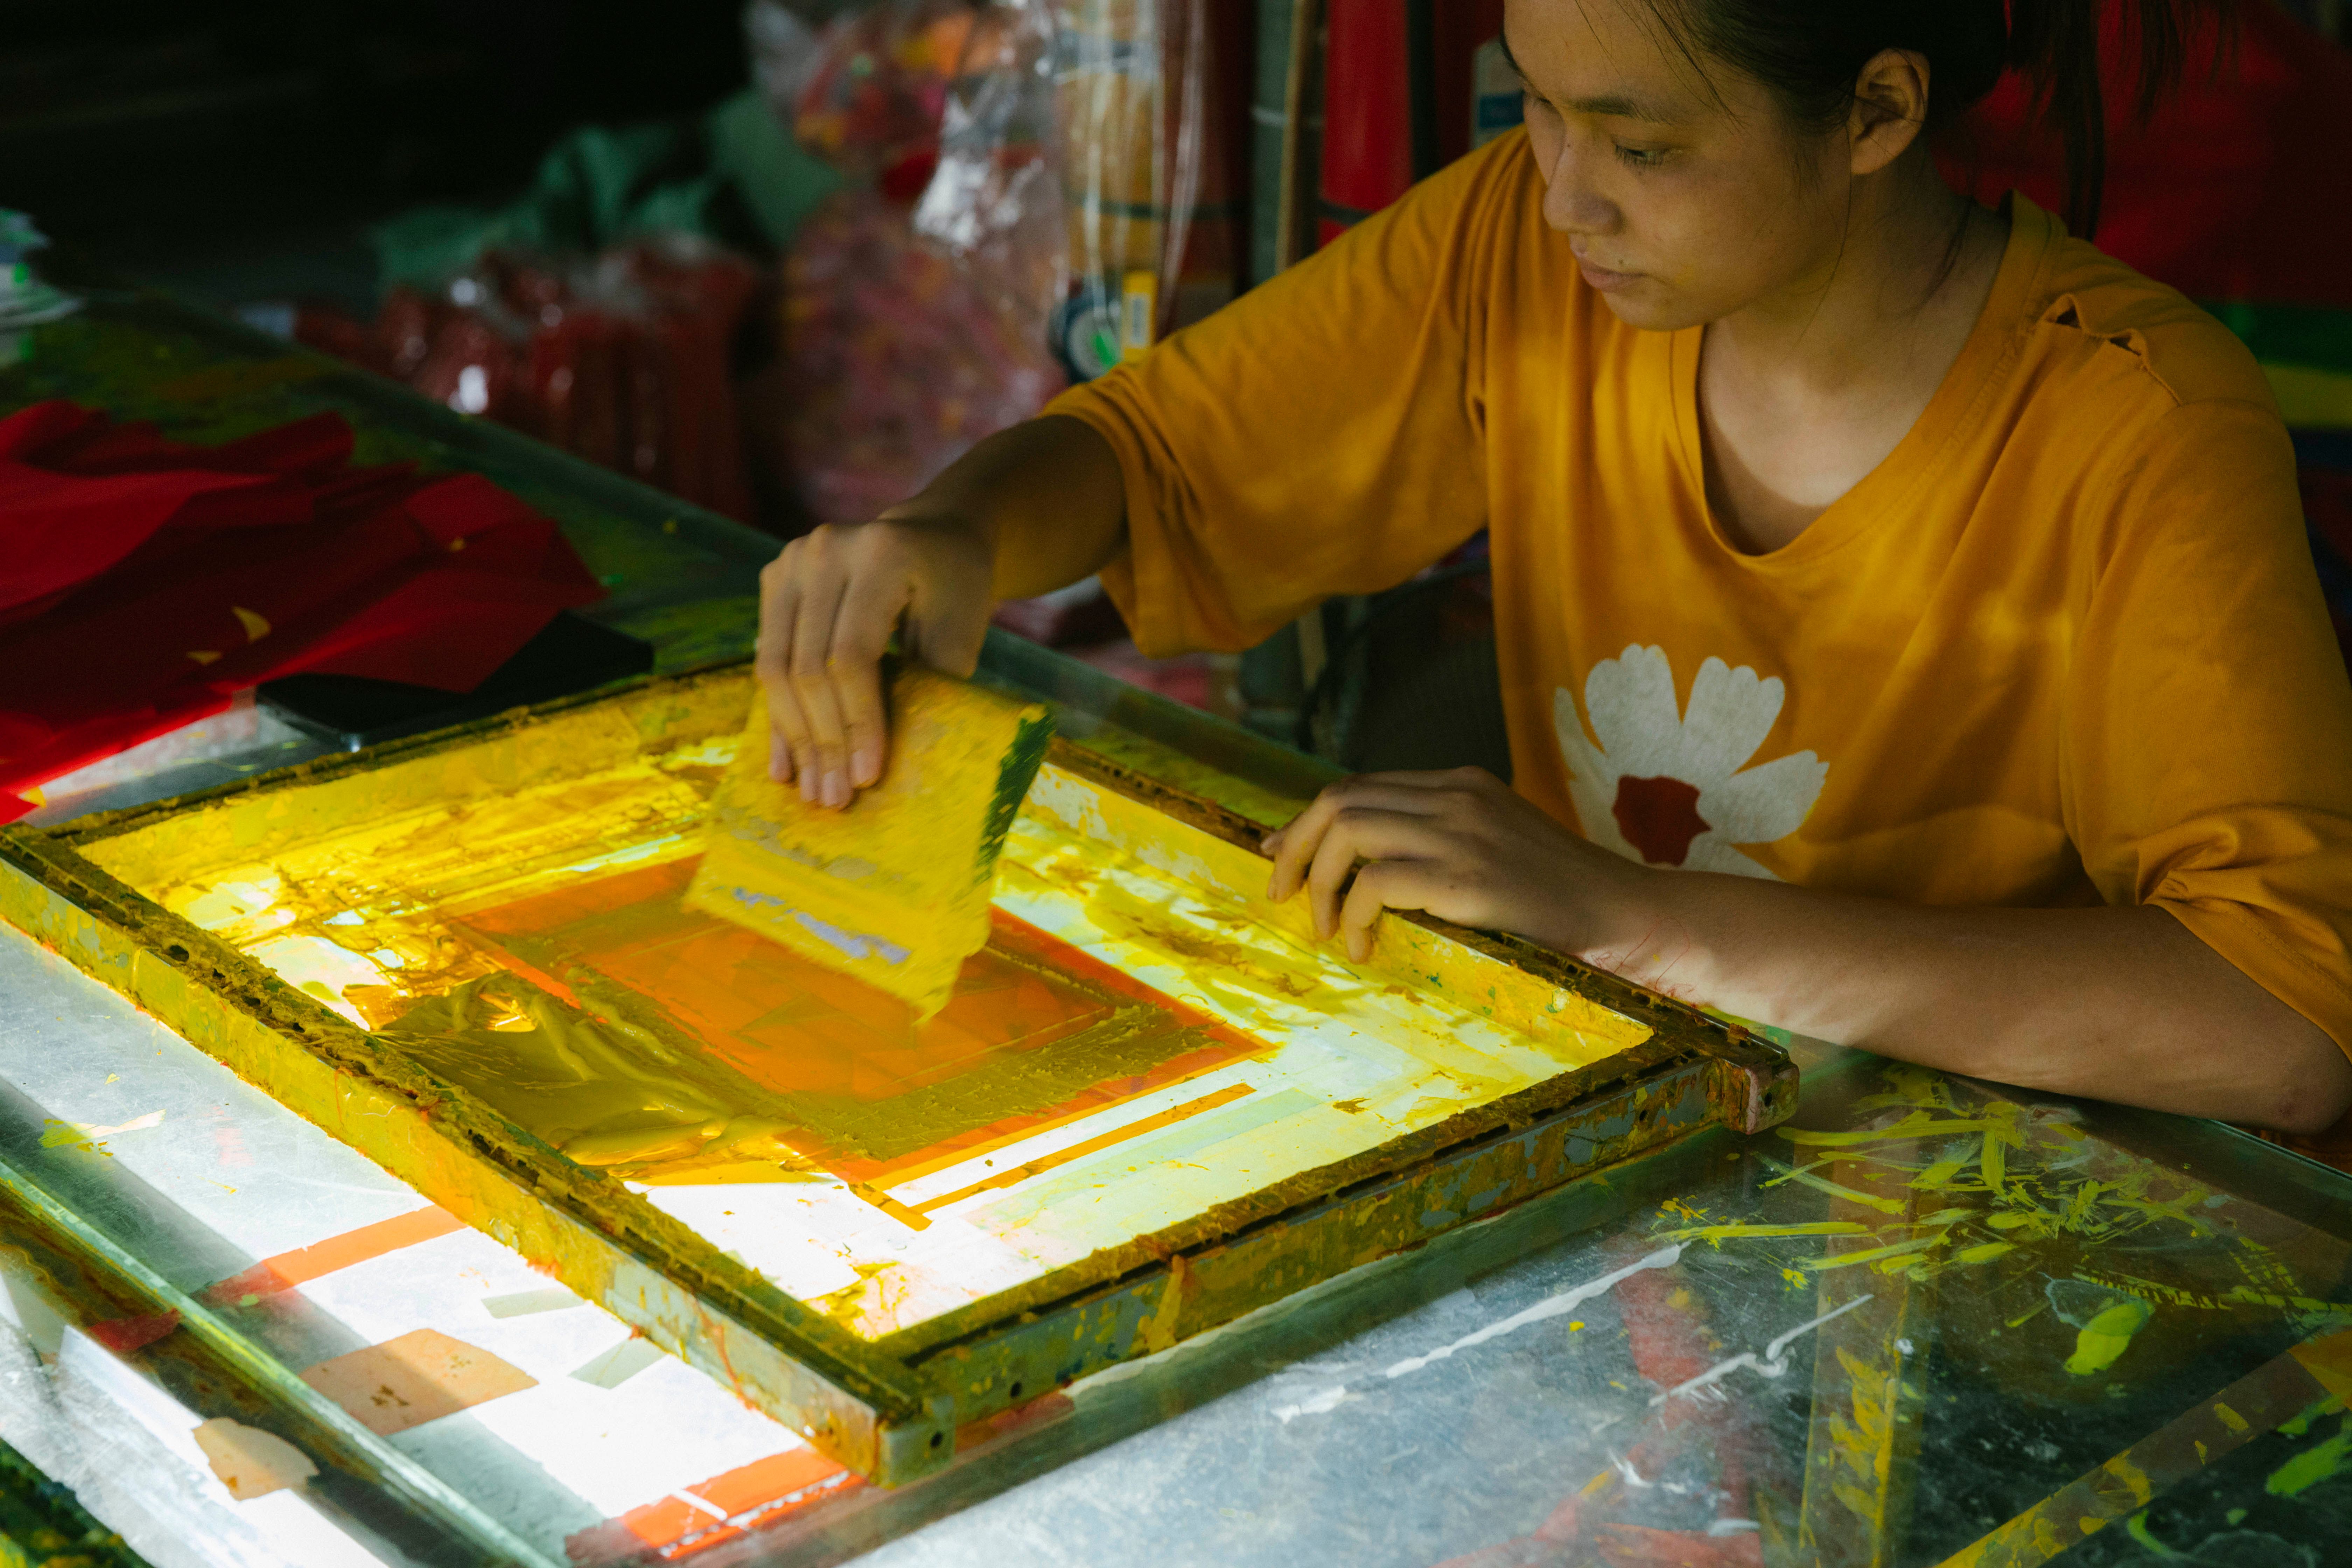
The printing process affects the appearance, flexibility and durability of the finished shirt.
Heat transfer vinyl works for simple lettering and shapes. Screen printing can suit larger production runs, depending on the artwork and setup. Direct to garment printing is another option for suitable fabrics.
Direct to film printing, usually shortened to DTF, is useful for detailed multicolored artwork. Specialized dtf printers produce designs on transfer film, which are then prepared and applied to compatible garments using heat and pressure.
For plus-size shirts, DTF transfers can accommodate different artwork widths without requiring a completely different printing process for every size.
However, print flexibility depends on the transfer materials, application settings and garment. A large transfer does not automatically feel comfortable because it was produced using DTF.
When pressing a larger shirt, flatten the intended print area and keep thick seams outside the pressing zone. Use the temperature, pressure and curing instructions provided with the transfer materials.
Creators producing only a few shirts can also order ready-made transfers rather than investing in printing equipment.
Test Your Design on More Than One Plus Size
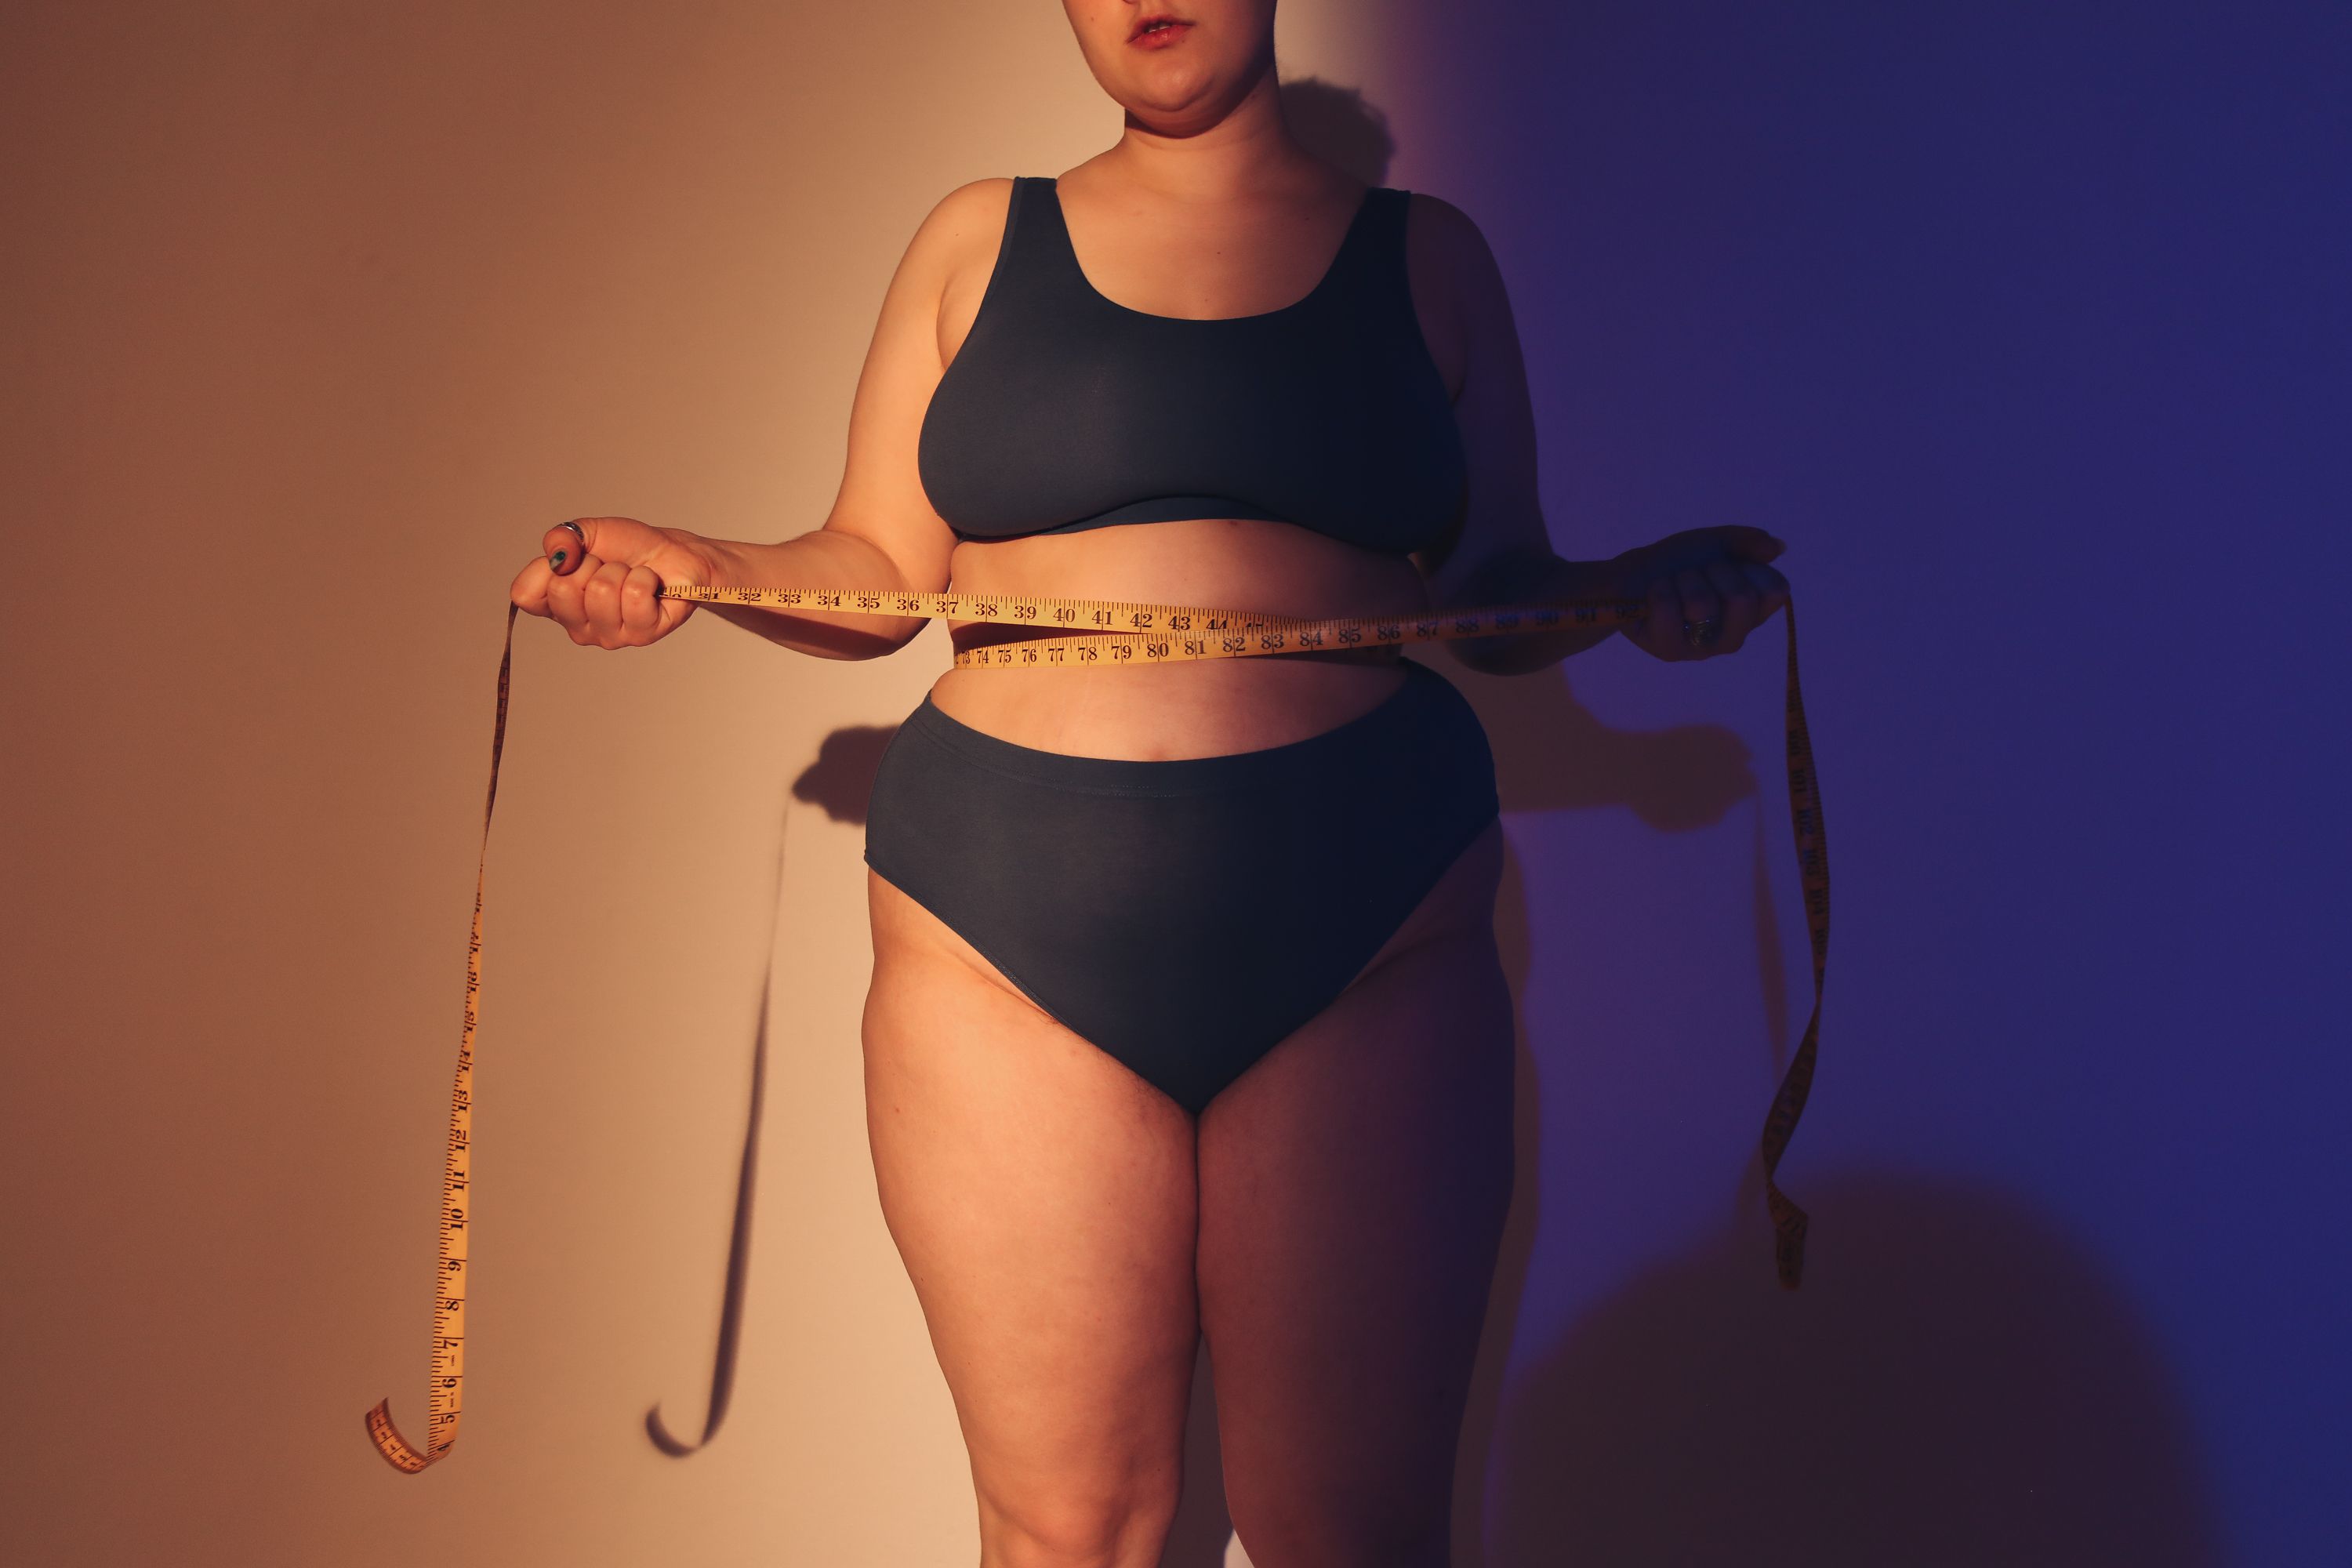
A graphic that looks balanced on a 2XL shirt may need adjustments for a 4XL or 5XL garment.
However, increasing every dimension by the same percentage is not always necessary. A small chest logo may remain the same size across several garments, whereas a large front illustration may benefit from different widths.
Before producing an entire collection, test samples in the intended size range.
- Prepare the artwork in its original proportions.
- Measure the available print area on each shirt.
- Compare two or more artwork sizes where necessary.
- Check the placement on a person or appropriately sized dress form.
- Apply a test print and inspect it after washing.
- Record the final artwork width and placement for each garment style.
Recording approved measurements saves time when repeating a design later. It also helps maintain consistent results when several people handle production.
Make Plus-Size Graphic Tees That People Actually Want to Wear
Start with a shirt that fits comfortably through the chest, stomach, hips and shoulders. Then design the artwork around its actual dimensions rather than assuming every size has the same printable area.
Large illustrations may need additional width. Fitted fabrics benefit from flexible decoration methods, and lettering needs enough room to remain readable when the shirt is worn.
A well-designed plus-size graphic T-shirt should look intentional at every available size. The artwork deserves as much attention as the fit, and neither should be treated as an afterthought.