Iron-on patches provide an excellent opportunity to customize your attire, mend minor rips, or inject some unique style into your clothing collection. Whether you’re into sports or music or love a good design, these patches allow you to express your interests and style uniquely. If you’re particularly interested in giving your garments a touch of personality and sophistication, opting for custom patches can be a game-changer. They add texture and a vintage feel to any piece of clothing, making it stand out.
In this comprehensive guide, we’ll walk you through the steps to apply these patches flawlessly to your clothes. Whether you’re a DIY enthusiast or a first-timer, you’ll find these tips incredibly easy to follow. So, let’s get started!
Prepping Your Garment

- Clean and Dry: Ensure that the garment you’re working with is clean and completely dry. Any moisture or dirt can affect how well the patch adheres to the fabric.
- Smooth Out Wrinkles: Use your iron to smooth out any wrinkles in the area where you’ll be applying the patch. This creates an even surface for application.
Getting Started: What You Need
Before we dive into the heart of patch application, let’s ensure you have everything you need. Gather up your iron-on patch, the garment or fabric you want to customize, an iron, an ironing board, and a thin towel or piece of cloth. It’s also a good idea to have a needle and some thread handy, just in case you want to add extra security to your patch.
Step 1: Position Your Patch

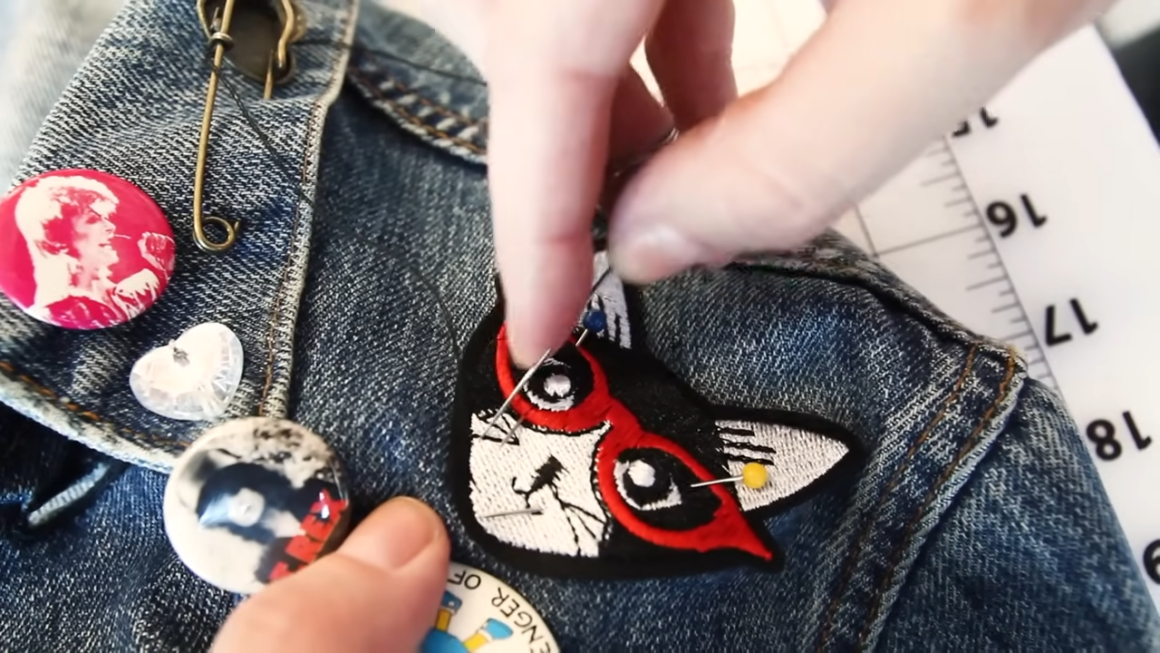
The first step is all about positioning. Decide where you want your patch to go. For shirts, the chest or upper arm is a popular choice. If you want to opt for chenille iron on letters on jackets, you might choose to apply them on the back or front. Once you’ve decided, place your garment on the ironing board and position the patch exactly where you want it to be.
Step 2: Heat It Up
Now, it’s time to heat your iron. You’ll want to set it to a high heat setting, suitable for the type of fabric you’re ironing. If you’re unsure, check the garment’s care label for guidance. It’s important not to use steam, as dry heat is what activates the adhesive on the back of the patch.
Step 3: Protect Your Patch

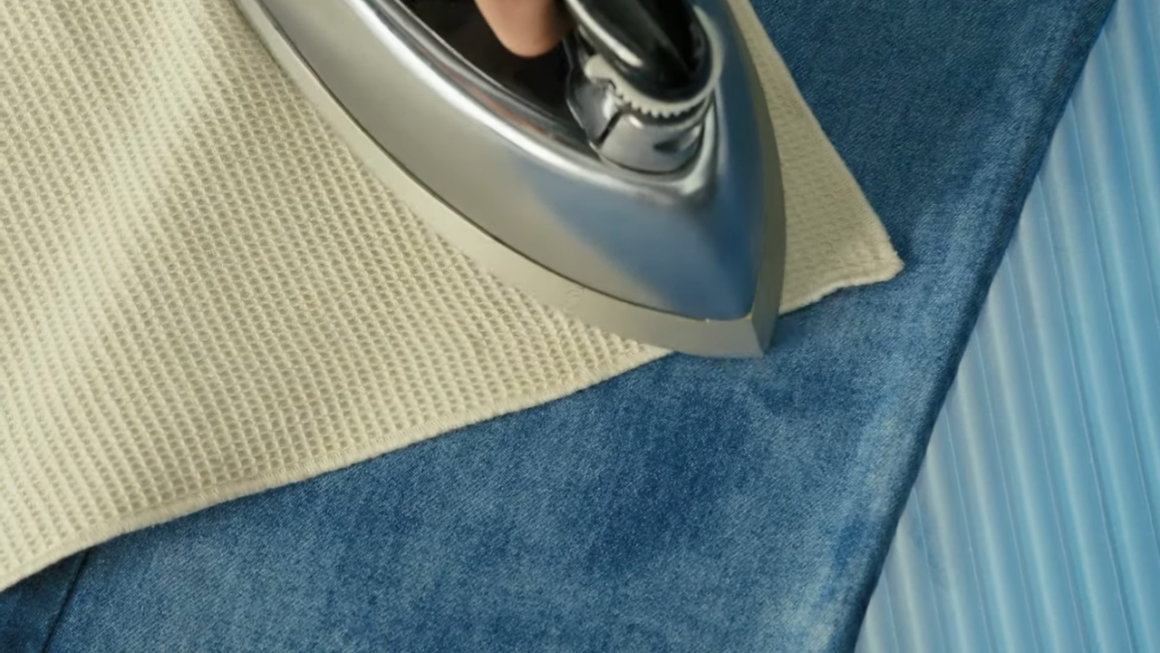
Before applying direct heat, place a thin towel or cloth over the patch. This barrier protects the patch and your garment from direct heat, which can sometimes be too intense and cause damage. This method also aids in spreading the heat uniformly over the patch.
Step 4: Iron On
Place the iron over the towel-covered patch and press down firmly. Hold the iron in place for about 30 to 45 seconds, then move it in a slow circular motion to cover all areas of the patch for another 15 seconds. The goal here is to apply even heat to fully activate the adhesive on the back of the patch.
Step 5: Check and Cool
Lift the towel and check if the edges of the patch are securely attached. If any part seems loose, replace the towel and iron those areas again for another 10-15 seconds. Once you’re satisfied, let the patch and garment cool completely. This cooling period is crucial as it lets the adhesive set properly, ensuring your patch stays in place.
Step 6: Additional Security (Optional)

If you’re applying a patch to an item that will experience a lot of wear and tear, or if you want to ensure it’s extra secure, you can sew the edges of the patch to the fabric. Use a thread that matches the edge of the patch or the garment to keep it discreet, and stitch around the entire perimeter of the patch.
Maintenance and Repair Tips To Make Your Patches Last
After you’ve successfully applied your iron-on patches, ensuring they last as long as your garment requires some care and attention. Here are some maintenance and repair tips to keep your patches looking pristine:
Regular Maintenance
- Washing: Always turn the garment inside out before washing. This reduces the amount of agitation the patch faces in the washing machine, preserving its adhesive backing and the integrity of the fibers.
- Drying: Avoid using the dryer if possible. High heat can weaken the adhesive over time, causing the edges to lift or the patch to become less secure. Instead, opt for air drying. If you need to use a dryer, use the lowest heat setting.
- Ironing: If your garment needs ironing, do not iron directly over the patch. Use a towel or a thin cloth as a barrier or, ideally, iron the garment inside out to avoid direct contact with the patch.
Repairing Your Patches
Even with the best care, patches might start to peel off over time, especially with frequent washing or wear. Here’s how you can fix them:
- Re-ironing: If the edges of your patch start to lift, you can try re-ironing it. Cover it with a thin piece of cloth and press down with a hot iron for 15-20 seconds. Allow it to cool completely before moving the garment.
- Sewing: For a more permanent fix, especially for patches that are peeling significantly or are located in high-wear areas, sewing around the edges can secure the patch indefinitely. Use a thread color that matches the patch or garment to keep it looking neat.
Final Thoughts

Applying iron-on patches is a straightforward process that adds a personal touch to your wardrobe. Whether you’re customizing a piece for yourself or creating a gift for someone special, the satisfaction of seeing the finished product is unbeatable. Remember, the key to a perfect iron-on patch application is patience and attention to detail. Take your time with each step, and don’t rush the process. This way you will be able to add a personal touch to your beloved pieces safely.
Wishing you Happy customizing – just remember, the only limit is your imagination!


